My miters have been done for weeks. The lugs have been carved for months. All I needed to do was clean the tubes, flux them, stick them in the fixture, and hope for the best.
There's everything in the fixture. As you can see, I needed to use all sorts of clamps to keep my lugs in place during the tacking phase. My "investment stamped" lugs are pretty and have long points, but are bad at basic things: like conforming to the shape of the tubes they're supposed to join. With some brute force, however, I was able to get them tacked in the proper place.
(When I finished the front triangle and stuck it back in the fixture to make sure everything fit in as it was supposed to, I noticed the seat tube was off by about half a degree. Now I see why: I didn't have it clamped into the V-block! Oh well. I wanted a 72.5 degree ST angle anyway!)
The actual brazing went really well. I had been a bit concerned that my top tube miters weren't perfect. But the silver jumped eagerly across the miters in every case and at every joint. Who needs a milling machine! Also, I had forgotten the cool sound that silver makes when it draws across from one side of a joint to the other. I think it's best described as a crispy suck.
The downtube/bottom bracket was just like the seat tube/BB, except that I got it right the first time, and my shorelines were nicer. When I did the lower head lug, I used too big of a flame and had a bit of trouble controlling the movement of the silver. Also that lug had some sizeable gaps to the tube in places. Still, it went fine. The upper head lug and the seat lug went extremely smoothly — I used a tiny, barely audible flame, and my shorelines came out nicely.
I'll skip the process shots and go straight to how things looked when the flux was soaked off. First, the seat lug:
I thought I'd like the shape of my lugs, but seeing it on the actual bike is pretty exciting! The shorelines here are pretty nice but a little bubbly. I still need to clean up my reinforced binder. And there's a pretty big glob of silver that I'll need to file off—a byproduct of my (successful) attempt to tap the point into place and get it to stick. Note also how little seat tube is sticking up above the lug. I wanted a 64cm frame, and I just barely got it.
The upper head lug:
This is the nicest-looking lug on the bike, I think. Nice long points, and smooth transitions from the top tube to the head tube.
The bottom bracket:
While I was brazing the DT/BB I was able to get in and fill the tiny gap in the ST/BB shoreline.
The lower head lug:
It looks a bit messy in that photo, but it's actually pretty good. What a nice long point! And I like the rounded, point-less attachment to the head tube.
I'm pretty excited to have the front triangle done! Now comes a lot of lug filing. Then I'll start working on my mitered seat stay attachment idea, which is likely to be time-consuming.
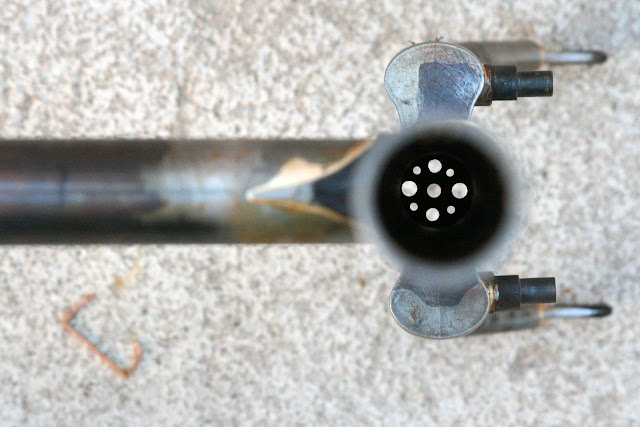
I close with a shot of the fender mounting point in my steer tube, seen from the inside.


2 comments:
i love the raw beauty of the process.. great work...
Thanks Xander! More rawness to follow shortly...
Post a Comment