Tuesday, June 29, 2010

Brakes and Cranks

But enough about framebuilding! Lets talk about parts.

My fellow eBayers have been snoozing a bit of late, and I have snapped up some really nice Mafac brakes in the last little while for very little money.

"Racer"s are very nice and easy to find—but for reasons I don't quite understand (perhaps just because they're hard to find; or maybe it's the brass bushings) I like all the other ones best. And in the last couple of weeks, I have purchased almost every one of them, as the photo at right demonstrates.

And now, individual photos:

Mafac 2000s — Third Version


These are New Old Stock and very shiny. They also have those cool wheel guides. This is the third version: the first was engraved; the second had the other style of straddle cable. I don't know what I'll use these for, but I'm sure I'll find a use...

These came in their original box, which is a prize in its own right!


Mafac Competitions — Second Version


Also New Old Sock. Exactly like the 2000s, except they have shorter reach (and the earlier straddle cable). These are really gorgeous, and are going on Greg Curnoe Bike.


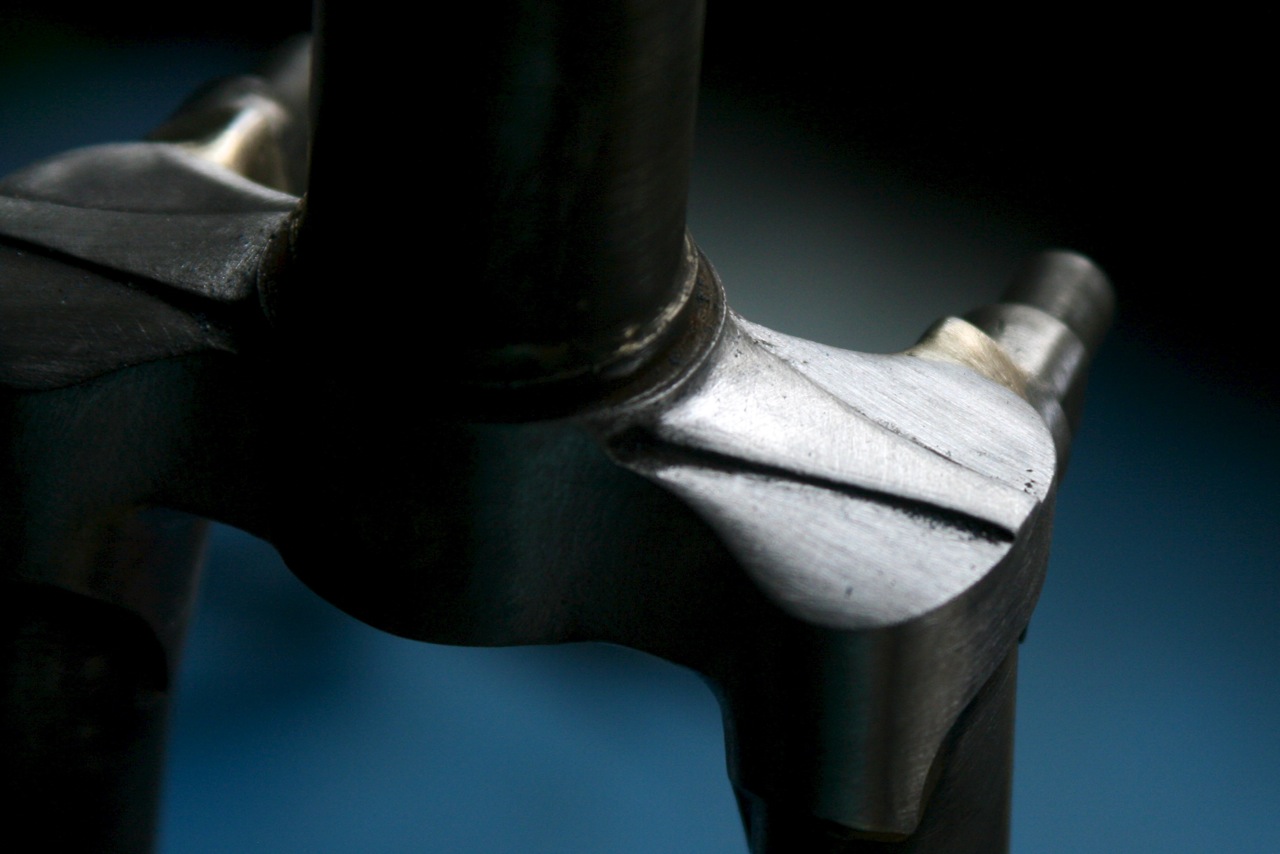
Mafac Competitions — First Version


The engraving gives these away as the older models. They're used but in really good shape. I got a pair, but I'll only use one—for Monty's front brake. Perhaps I'll build another fixed gear bike some day, and use the other one for that... Here's a picture of this brake on Monty's fork:


Mafac Criterium Cantilevers — Blue Anodized


Who knew such things existed! New Old Stock, and they even cane with original Mafac braze-ons, marked "AV" and "AR" for avant and arrière. I think I'll use these on the bike I'm planning for my girlfriend, "Kitten Paradise," which will be extremely colourful.

Also in my collection, though not purchased recently, are my...

Mafac Raids


These are also New Old Stock. And while not as pretty as the other centrepulls, extremely hard to track down, and certainly an exciting brake in their way. As soon as I'm competent with "advanced" framebuilding skills like squeezing massive tires into short chainstays, I'll build a 650B bike with these brakes.

The Raids are really huge. They eat Competitions for breakfast.


I have also recently purchased a really nice 48T Campagnolo Pista chainring, with the idea of using it on Monty. I have a pair of Campagnolo Strada 170 cranks which with a bit of filing would become identical to a pair of Pistas. But soon after I got that ring, I came across a very cheap TA 48T track ring. It looks pretty nice on this Stronglight 49D crank arm (whose spider is awfully out of true—I'll try to fix it, but it's pretty bad.)


Which  do you prefer? I'm leaning toward the Campagnolo, though it requires filing my cranks (always feels a bit like a crime), and the TA/Stronglight combo is noticeably lighter.

Sunday, June 27, 2010

Greg Curnoe Bike

Since Toronto has been effectively shut down over the last few days by the G20 meeting, I gave myself a working holiday at the shop. My goal was to see if I would build a front triangle in two days, working 10 hours a day. The bike I was working on was the Greg Curnoe bike.


This bike is going to based on the above print, by Canadian artist Greg Curnoe, of a Mariposa time trial bike. I'm not trying to build a replica, since I don't really want a time trial bike. But I will use some of the same components: Huret Jubilee rear derailleur, TA cranks (doubles, though), Super Record brake levers (with clear hoods to replicate the hoodless look of Curnoe's bike), a radially laced front wheel (but with my Mavic SSC rims). I'll differ in using brazed-on Mafac Competitions, a front derailleur, a different saddle, etc. I'll also build it around fenders, though I'm not sure I'll always leave them on. And I'll use a fastback attachment.

The main thing—strangely given that I'm the one building the frame, not painting it—will be the paint job. Curnoe's print was of a green Mariposa, and he added the yellow, red, rainbow, orange, etc., parts, constrained only by his imagination. I'm going to have Noah of Velocolour do a "literal rendering" of Curnoe's print; the bike will have yellow on the top of the tubes and green underneath, for example. This can only be taken so far: the lugs will probably all be green with yellow lining, and I'm not sure what to do about the rear triangle. I think I'll paint the fenders orange. I don't think I particularly want a red chain.

Why this particular painting/print? I owe my love of bicycles to it. Growing up in London, Ontario—where Curnoe was from—I saw it constantly, and it is directly responsible for my aesthetic appreciation of bikes. I love also that it's a painting of a Mariposa, my favourite real-life marque. (Here are two links about Curnoe/Mariposa).

"Mariposa T.T." is a painting of a bicycle. I'm going to make a bicycle of a painting!

I've already assembled all the components (see here and here). I have also moved the derailleur tab on some Campagnolo 1010 dropouts to give me more options with my Jubilee rear derailleur. This weekend I took it from here and built the front triangle.

I decided to use some original Cinelli CS stamped lugs for this bike—the ones used on the Cinelli Supercorsa. They don't much resemble the short-point lugs in the print, but I like them better! I decided to leave the shape more or less as-is, since the paint job will be sufficiently busy without added curls in the lugs. I did make a cutout in the side of the seatlug, though, to match the painting and create some visual interest in the absence of wrap-around stays.


I did subject these lugs to my "investment stamping" process—which was slightly less time-consuming this time around, but not much—but I forgot to take any pictures. Rest assured that the rounded transitions are filled with sharply pointed fillets of brass!

I spent Friday doing that and mitering the tubes. Yesterday I finished reaming out all the tubes, cleaning them, etc., and then started brazing around 2pm. Here is the first joint, the seat tube to bottom bracket, which went fine:


The flux had to be soaked off that and the excess tube filed off. Then came facing. The cool, oldish Roto shell needed quite a bit of material taken off.


Then I needed to slightly adjust the downtube/BB angle, which was quite a bit of work. Unfortunately I mitered the downtube to the "unadjusted angle," and so it pulled in a few milimetres in the proper position. Probably not a big deal—I added a silver fillet at the bottom just in case.

Here we are tacked and ready to go (with all levers depressed) at about 4pm:


Here's the bike with three of five joints completed, viewed from proper Curnoe-ian non-driveside:


And a particularly picturesque flux gob on the completed seat lug, photographed after I'd arrived home at 6:30.


My brazing was pretty perfect this time, with nice tight shorelines and only one tiny gap to go in and fix. This was mostly because I did a better job of making sure all the points sat flush against the tubes before sticking them in the fixture. 

After messing up the front end clearance, I was particularly careful this time around, and completely changed the way I used the fixture. I also made a paper drawing just to be sure. Happily it seems to have come out as intended. 


It also came out absolutely straight to the milimetre. This is a sign of good miters, which is good to see, since I did these quickly and by hand.

I now have another fork to make (for this bike) and some rear triangles to complete (for this and for Monty). I'll be busy with teaching for the next few months, so I fear it may take a while...

Sunday, June 20, 2010

Further Progress

I have, at last, finished filing Monty's fork. I'm pleased to report that it scarcely resembles the unshapely hump of rust I started from last week.


There you can see that I managed to put sharp edges along the sides of the crown. This resulted from a process somewhat like sharpening a knife.


Above are the brazed-on spring retainers for the brazed-on Mafac bosses. Good Lord, what a lot a work it was to make those silver fillets, then file them to a nice shape, and then try to work that shape into the shape of the crown! I don't think I'll bother with this very often (my Mafac bosses came with aluminum tabs to use as spring retainers), but this looks nice in any case.


There's the back of the crown, showing the much thinner and swoopier shape of the crown, as well as the properly filled brake hole.

I'm in another holding pattern now, as I wait for head tube facing tools and some track ends to complete the rear triangle. But I was able to finish capping the stays. With all my filing practice from working on that cursed Nervex crown, the full process of brazing and filing these took about 45 minutes.


This is sort of what Monty will look like. He'll be a nice bike! Click to enlarge.


While I wait to finish off his rear triangle, I have begun the "investment stamping" process for the Greg Curnoe bike. These are Cinelli CS lugs, and I'm not going to do much shaping, since I like their avian profile as it is.


Indeed, the more I work on frames the more I question my tendency to engage in needlessly time-consuming things like filing ugly crowns into shape, filling obsolete lugs with brass, brazing on spring retainers, etc. Perhaps I'll be reminded why I've done it when the frame comes back from paint.

Next steps: finish the rear triangle, start on the stem, and then start the Greg Curnoe bike.

Sunday, June 13, 2010

Brazed Fork #2

I finished brazing the fork for Monty yesterday. I seem to always forget my camera when really picturesque things are happening, and this was one of those times. But I do have some pictures as it come out.

The last fork I made ended up about 5mm out of centre, and I had to cold set the fork blades to one side to get the wheel to sit perfectly straight in the fork. This time instead of brazing the fork fully in the jig, I just tacked it, then aligned with a true wheel, and then brazed it fully in the vise. Luckily it required no cold-setting at all this time, and came out perfectly straight.

The brazing itself went reasonably well. It's a slightly tricky joint to braze, since you don't have an exit point to dump excess silver. The shore lines came out pretty well, but are a bit "fulsome" in spots. The Nervex crown also added some difficulty, since none of the points rested very well against the blades. A lot of tapping with the brass hammer eventually settled this problem. Here's one of the nicer shorelines.


Incredibly, after all the filing I've already done on the crown, the brazing process revealed that I still have a lot left. Notice in this photo both how thick the crown is, and how the angle doesn't match the line of the blade. I'll file it to be thinner and in line.


Here's the back of the socket, where the same needs to be done.


I'm also thinking of using some Mafac Competitions I have in my closet, instead of the Universals. I'm tempted mostly by the brass bushings and the fact that I already have all the hardware—but we'll see.

Thursday, June 10, 2010

Filing Monty's Fork

For the past few days I have been very busy filing the various component parts of Monty's fork. First, the Nervex crown. For all their fame, these crowns are decidedly ugly out of the box. The casting is really rough (and we'll forgive that—this is a fifty year old crown.) Note, for example, the incredibly thick tangs (which are also pointing off in very different directions) and the ugly flat spots between the blade and steerer sockets.


I spent the day today trying to clean it up. I used my biggest round file to create a round transition between the blade sockets and steerer opening. The one thing I don't think I'll be able to do much with is the rounded-off transition between the top and the sides of the blade sockets. I've seen other Nervex crowns with perfect 90 degree transitions. Working with this old stuff gives you a lot of respect for the framebuilders of the mid-twentieth century, who not only made crowns like this look beautiful, but did no in great quantities every day. Here is what I've come up with so far (and yes, I'll need to add more silver to fill in the brake holes...):


I'll finish the filing once I've brazed in the blades.

Speaking of them, I also spent some time filing my dropouts today. Doing slotless dropouts creates a lot of extra filing work, but also gives you some extra room for creativity. I filed my scallops at a sort of weird angle, and also filed the dropouts themselves to give them a very circular shape.


Here's another look, backlit to bring out the odd shape.


Next step: brazing in the blades. Then waiting for my track dropouts to arrive, then finding some thin flat stock to cap my seatstays...

Tuesday, June 8, 2010

Down with Drop!—and, Say Hello to Monty

After the excitement of last Tuesday, when I brazed my nice front triangle, I was brought somewhat down to earth the next day, when I was visited by my old foe: bottom bracket drop.

Niles's one flaw is his unusually low bottom bracket. 83mm for a fixed gear is a whole lot. Although it has not really bothered me in practice, and I've only struck the road one, when I was going over a low curb.

This time, however, the problem was the reverse. When I put my front triangle into Olivier's magnificent rear triangle fixture, I discovered that I had not the 80mm of BB drop I had intended... but 60. Subsequent analysis has revealed three sources for this discrepancy:

  • I measured BB drop in line with the seat tube, not horizontally from the axle line. That cost me about 4mm.
  • I calculated my wheel radius by adding 311 (half of 622, the BSD of a 700c wheel) to 30, the height of my tire. But 311 only takes you half way through the braking surface — to the "bead seat," not to the edge of the rim. So I should have done 316 (the radius to the edge) plus 30. That cost me 5mm.
  • Other peculiarities and errors too dull to go into cost me the remaining 11mm. But I did take note of them all, and won't make the same mistakes next time around.

A bike with 60mm of BB drop would be perfectly rideable. But the resulting bike would really have an absurdly high bottom bracket — you could ride over a log. For a bike I intend to ride often, it just won't do!

Naturally my next step was to determine what to do with the lovely front triangle I had just made. (This step is illustrated in the above image.) I have three bikes planned for myself at the moment: (1) Adam Jr., the randonneur I had been attempting to make; (2) Greg Curnoe bike, a road bike; and (3) an as-yet-unnamed fixed gear bike of utmost simplicity. I would have won back 10mm or so of front end clearance with the Greg Curnoe bike, since it's not going to be made with fenders in mind. But the fixed gear was a better match: for fixed gear bike you want a less bottom bracket drop anyway (and thus a higher bottom bracket); and I'm going to use 700x24 tires and very little clearance. The front triangle ended up matching this design perfectly.

So I decided to use the front triangle I had already brazed for the fixed gear bike. Of course I needed a name. I got it from the rims I was planning to use: Mavic Monthlery Pro tubulars. His name is Monty.

The wheels weren't built yet, so I built them over the weekend. Monthlery Pro rims, Dura Ace low-flange track hubs, DT Swiss double-butted 302mm spokes, and Challenge Strada 700x24 tubulars. These are beautiful and light wheels. I spent quite a bit of time polishing the non-anodized rims. And even though the rims were NOS and came with their labels intact, they had pulled up on the edges, so I safely removed them and put on some replicas in their place. I'm going to have the bike painted to match them: red with gold decals.


Once the wheels were built I started on the fork. I had a flat, Imperial-oval crown of uncertain provenance that seemed like a good fit. I also had some matching Reynolds 531 blades that were pre-raked exactly the right amount (45mm), and a threaded 531 steerer:


Today I did several things. First I brazed the centrepull bosses onto the crown. These are at Mafac spacing, but I happened to have a Universal in my closet that I thought I might use instead. I needed to drill the pivots out, and I'll need to repurpose some bushings from Mafac Racers, but they should work fine. I then brazed the steerer to the crown, and brazed in the dropouts. This is all illustrated here:


It all needs to be filed. And the roughly-cast crown needs quite a bit of work to open it up for the blades. But once that's done, things should move quickly. I'll need to get some track dropouts and do the rear triangle, and then I'll make a stem. But there are very few braze-ons for this frame — probably only water bottle bosses. So it should all go quite quickly...

Tuesday, June 1, 2010

Front Triangle

Here it is, posing in front of its big brother, Niles, who I rode to the shop today for good luck.


My miters have been done for weeks. The lugs have been carved for months. All I needed to do was clean the tubes, flux them, stick them in the fixture, and hope for the best.


There's everything in the fixture. As you can see, I needed to use all sorts of clamps to keep my lugs in place during the tacking phase. My "investment stamped" lugs are pretty and have long points, but are bad at basic things: like conforming to the shape of the tubes they're supposed to join. With some brute force, however, I was able to get them tacked in the proper place.

(When I finished the front triangle and stuck it back in the fixture to make sure everything fit in as it was supposed to, I noticed the seat tube was off by about half a degree. Now I see why: I didn't have it clamped into the V-block! Oh well. I wanted a 72.5 degree ST angle anyway!)

The actual brazing went really well. I had been a bit concerned that my top tube miters weren't perfect. But the silver jumped eagerly across the miters in every case and at every joint. Who needs a milling machine! Also, I had forgotten the cool sound that silver makes when it draws across from one side of a joint to the other. I think it's best described as a crispy suck.

The downtube/bottom bracket was just like the seat tube/BB, except that I got it right the first time, and my shorelines were nicer. When I did the lower head lug, I used too big of a flame and had a bit of trouble controlling the movement of the silver. Also that lug had some sizeable gaps to the tube in places. Still, it went fine. The upper head lug and the seat lug went extremely smoothly — I used a tiny, barely audible flame, and my shorelines came out nicely.

I'll skip the process shots and go straight to how things looked when the flux was soaked off. First, the seat lug:


I thought I'd like the shape of my lugs, but seeing it on the actual bike is pretty exciting! The shorelines here are pretty nice but a little bubbly. I still need to clean up my reinforced binder. And there's a pretty big glob of silver that I'll need to file off—a byproduct of my (successful) attempt to tap the point into place and get it to stick. Note also how little seat tube is sticking up above the lug. I wanted a 64cm frame, and I just barely got it.

The upper head lug:


This is the nicest-looking lug on the bike, I think. Nice long points, and smooth transitions from the top tube to the head tube.

The bottom bracket:


While I was brazing the DT/BB I was able to get in and fill the tiny gap in the ST/BB shoreline.

The lower head lug:


It looks a bit messy in that photo, but it's actually pretty good. What a nice long point! And I like the rounded, point-less attachment to the head tube.

I'm pretty excited to have the front triangle done! Now comes a lot of lug filing. Then I'll start working on my mitered seat stay attachment idea, which is likely to be time-consuming.

I close with a shot of the fender mounting point in my steer tube, seen from the inside.